This guide is for training managers and administrators, to help you get up and running quickly on the Immerse Platform
👍 This section covers Immerse Platform Version 2
How to identify which version of the Immerse Platform you are using
- Add learners to your organisation (session administrator)
- Install the APK on the learners' headsets (session administrator and learner)
- Ensure the corresponding Immerse App is available in your organisation on the Immerse Platform (session administrator)
- Decide which Immerse cohort best meets your user access requirements (session administrator)
- Create the cohort (session administrator)
- Invite participants (session administrator)
- Join the session (learner)
- Check the session data (session administrator)
1. Add learners to you organisation
Learners can be invited individually or bulk uploaded to the Immerse Platform. Before adding them, carefully consider their role. Organisation Admins, for example, can perform high level actions such as adding and disabling other users. For this reason, it's good practice to provision most users as 'Standard Users', upgrading roles as required.
2. Install the APK on the learners' headsets (session administrator and learner)
Standalone Android-based headsets, such as Meta Quest or Pico Neo, use APK files for application installation. There are a number of ways to deploy these and this guide won't cover the different processes, however the relevant APK must be installed before learners can access content. If you are deploying a WebGL or PC-based application, they are hosted directly on the Immerse Platfom.
APK files can be downloaded from the corresponding Immerse App if uploaded.
3. Ensure the corresponding Immerse App is available in your organisation on the Immerse Platform (session administrator)
Depending on your organisation preferences, Immerse Apps on the Immerse Platform can be manually or remotely uploaded.
4. Decide which Immerse cohort best meets your user access requirements (session administrator)
Immerse cohorts provide different ways for users to access content:
Named:
and Anonymous
Cohort comparison
|
|
Captures data against named user |
Requires user authentication each time app is used |
Sends automated invitation email |
Requires user to have Immerse Platform account |
|
Named |
Y |
Y |
Y |
Y |
|
Named |
Y |
Y |
N |
Y |
|
Anonymous |
N |
N |
N |
N |
|
Facilitated |
Y |
Y |
N |
Y |
5. Create the cohort (session administrator)
Cohort creation is not available to all Immerse Platform users. To have this capability you must be an Organisation Administrator, App Manager or Cohort Manager.
This guide assumes that a "Named (by email)" cohort is required. This is a common type of cohort which allows session data to be captured and stored against a named, invited user. This data can then be pushed to a Learning Management System, if that integration has been set-up.
Access the App List by clicking on the |Apps| tab at the top of the page (vr.immerse.io/apps). Next, locate the application you wish to use - in this example we will use "Fire Hazards (Hard Hat - Quest)". Click on that application.

You will be presented with the App overview page for the Hard Hat Fire Hazards application.
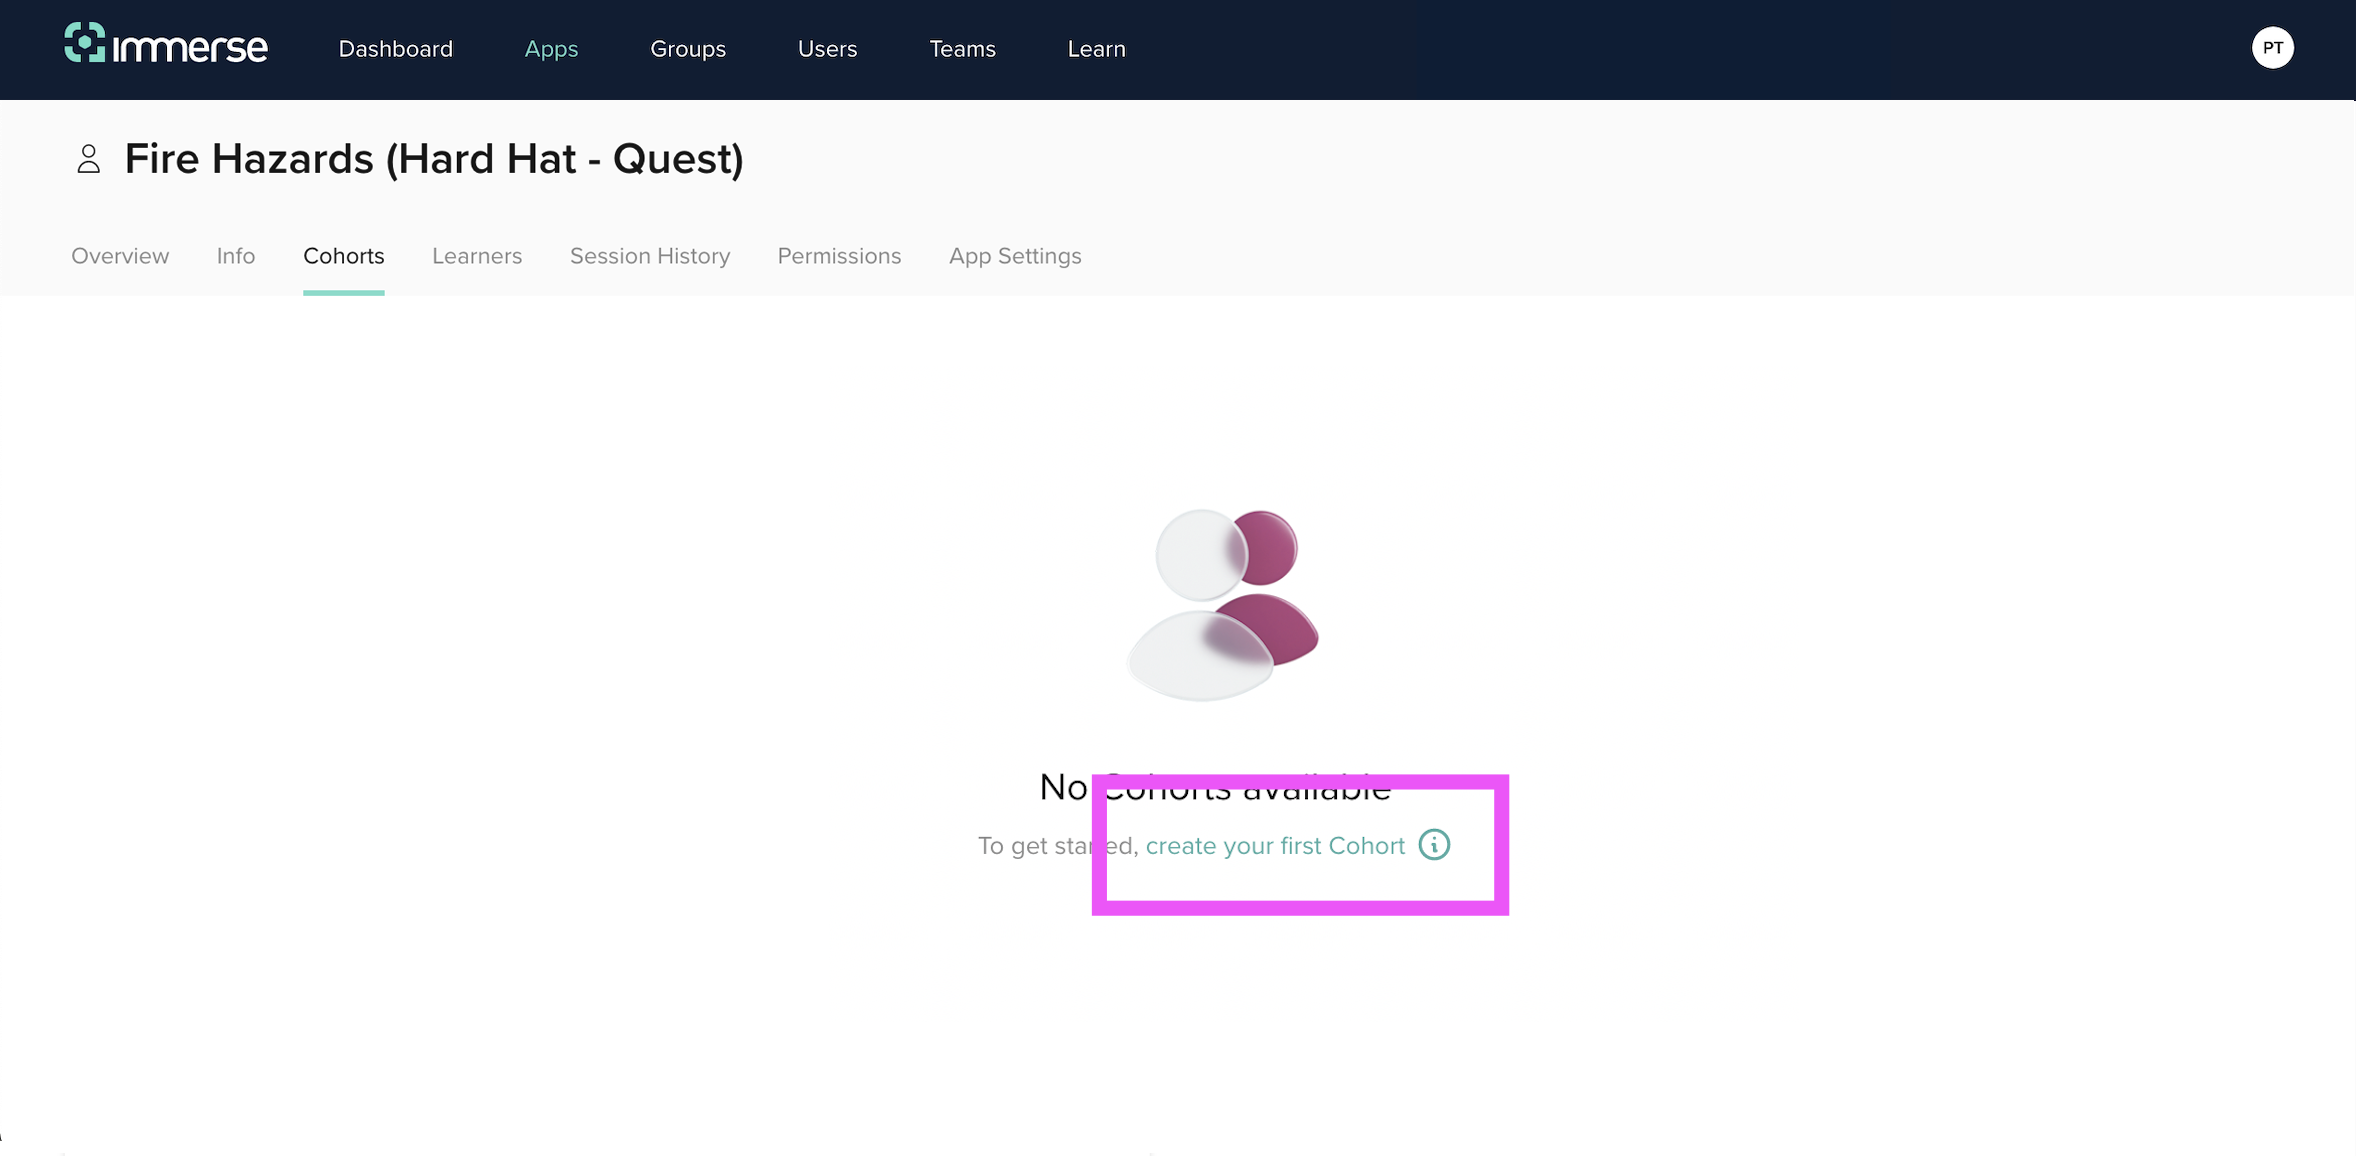
Go to the |Cohorts| tab and click create your first Cohort. If one has already been created, you will see the cohort list - in that case, click the green [+ NEW COHORT] button.
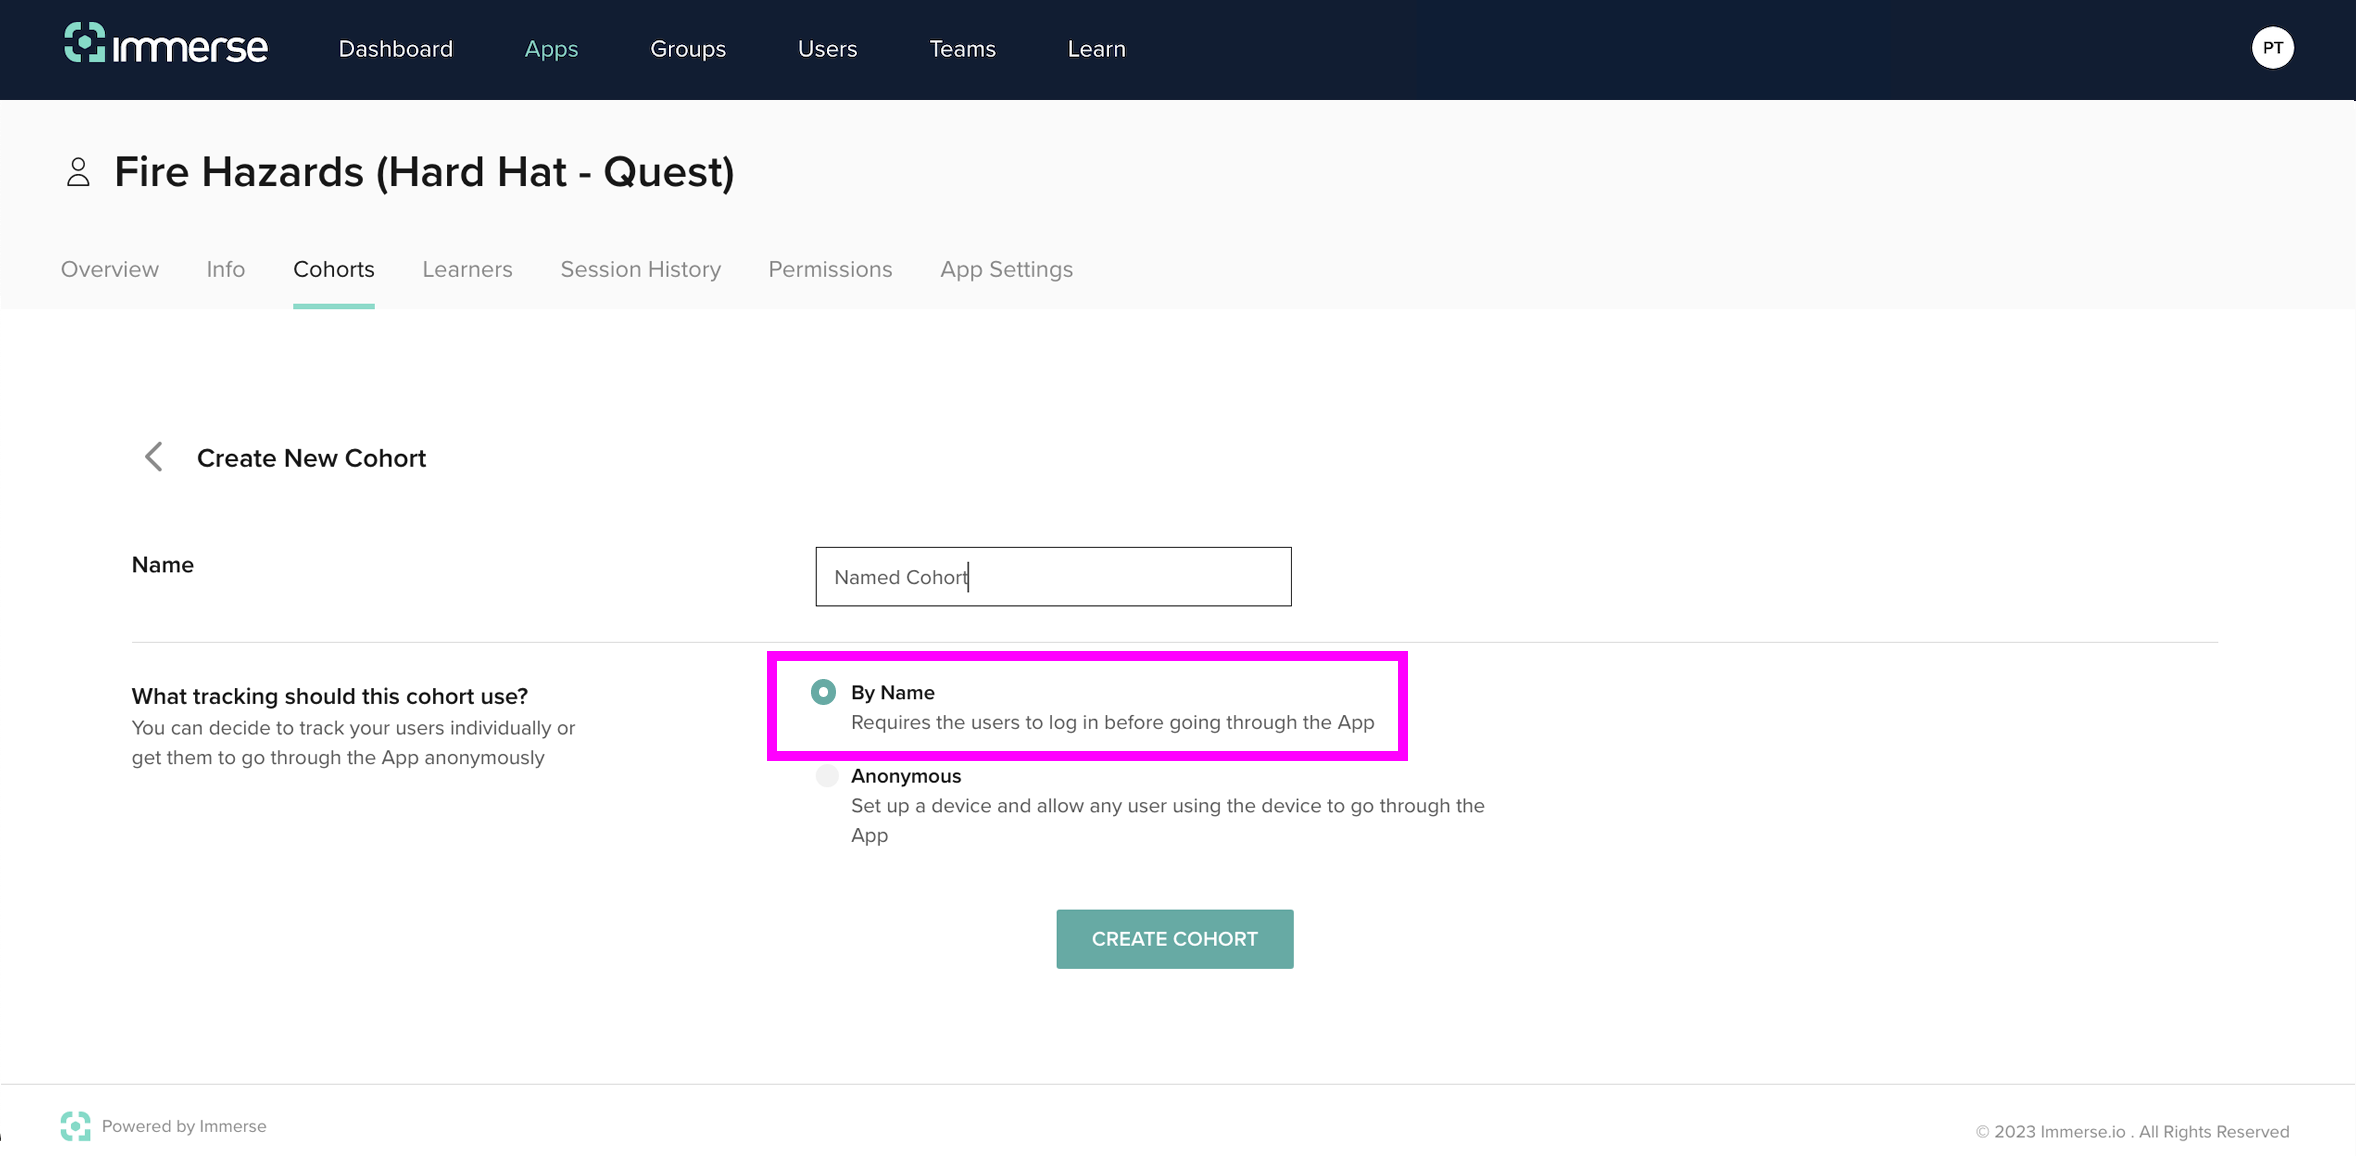
You will be prompted to provide your cohort with a name; also choose By Name when asked "What tracking should this cohort use?"
Now choose "Email"; when the cohort is created, the Immerse Platform will send automated invitation emails to each learner:
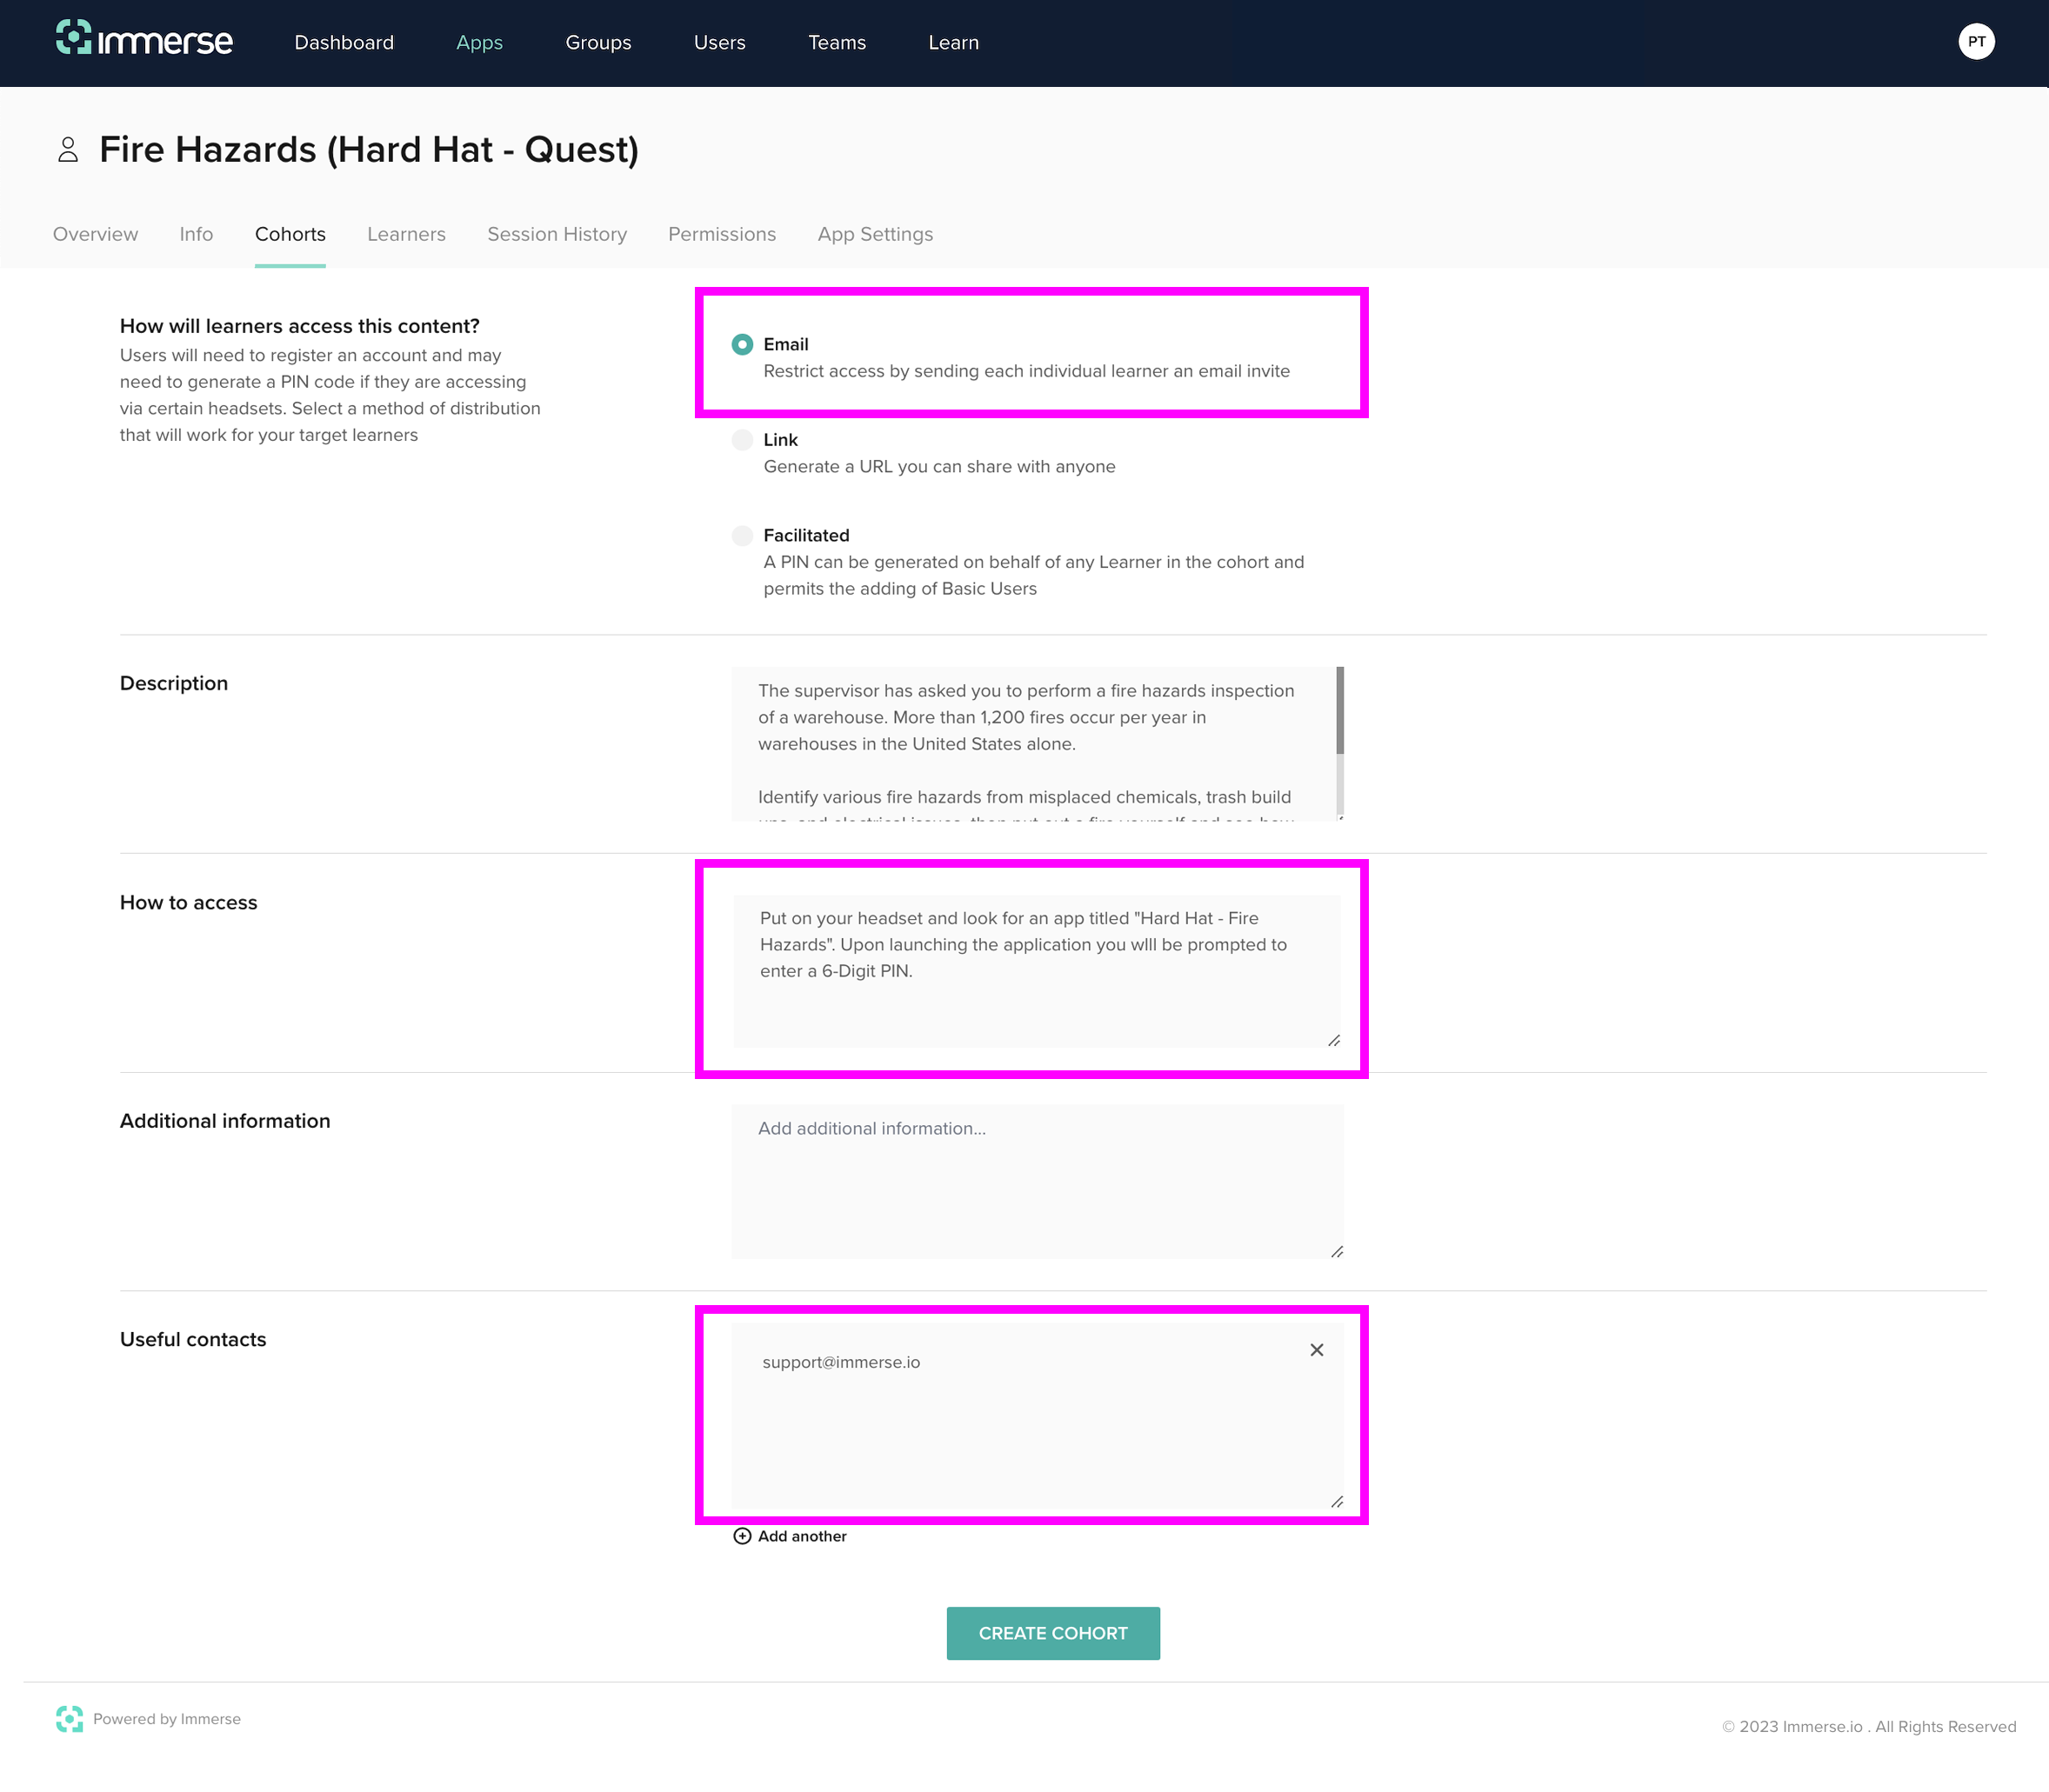
You will then be prompted to provide some more optional data:
- Description (optional) will be pre-populated with the information stored on the Immerse App (although you are free to modify it here)
- How to access (optional) is used to provide more specific instructions to the learner. For example, you may want to instruct them to visit a particular physical building or room, or use a particular headset to access the content.
- Useful contacts (optional) can be used to provide details for support or other services related to the headset and application
Once you are happy with this information click [CREATE COHORT].
6. Invite participants (session administrator)
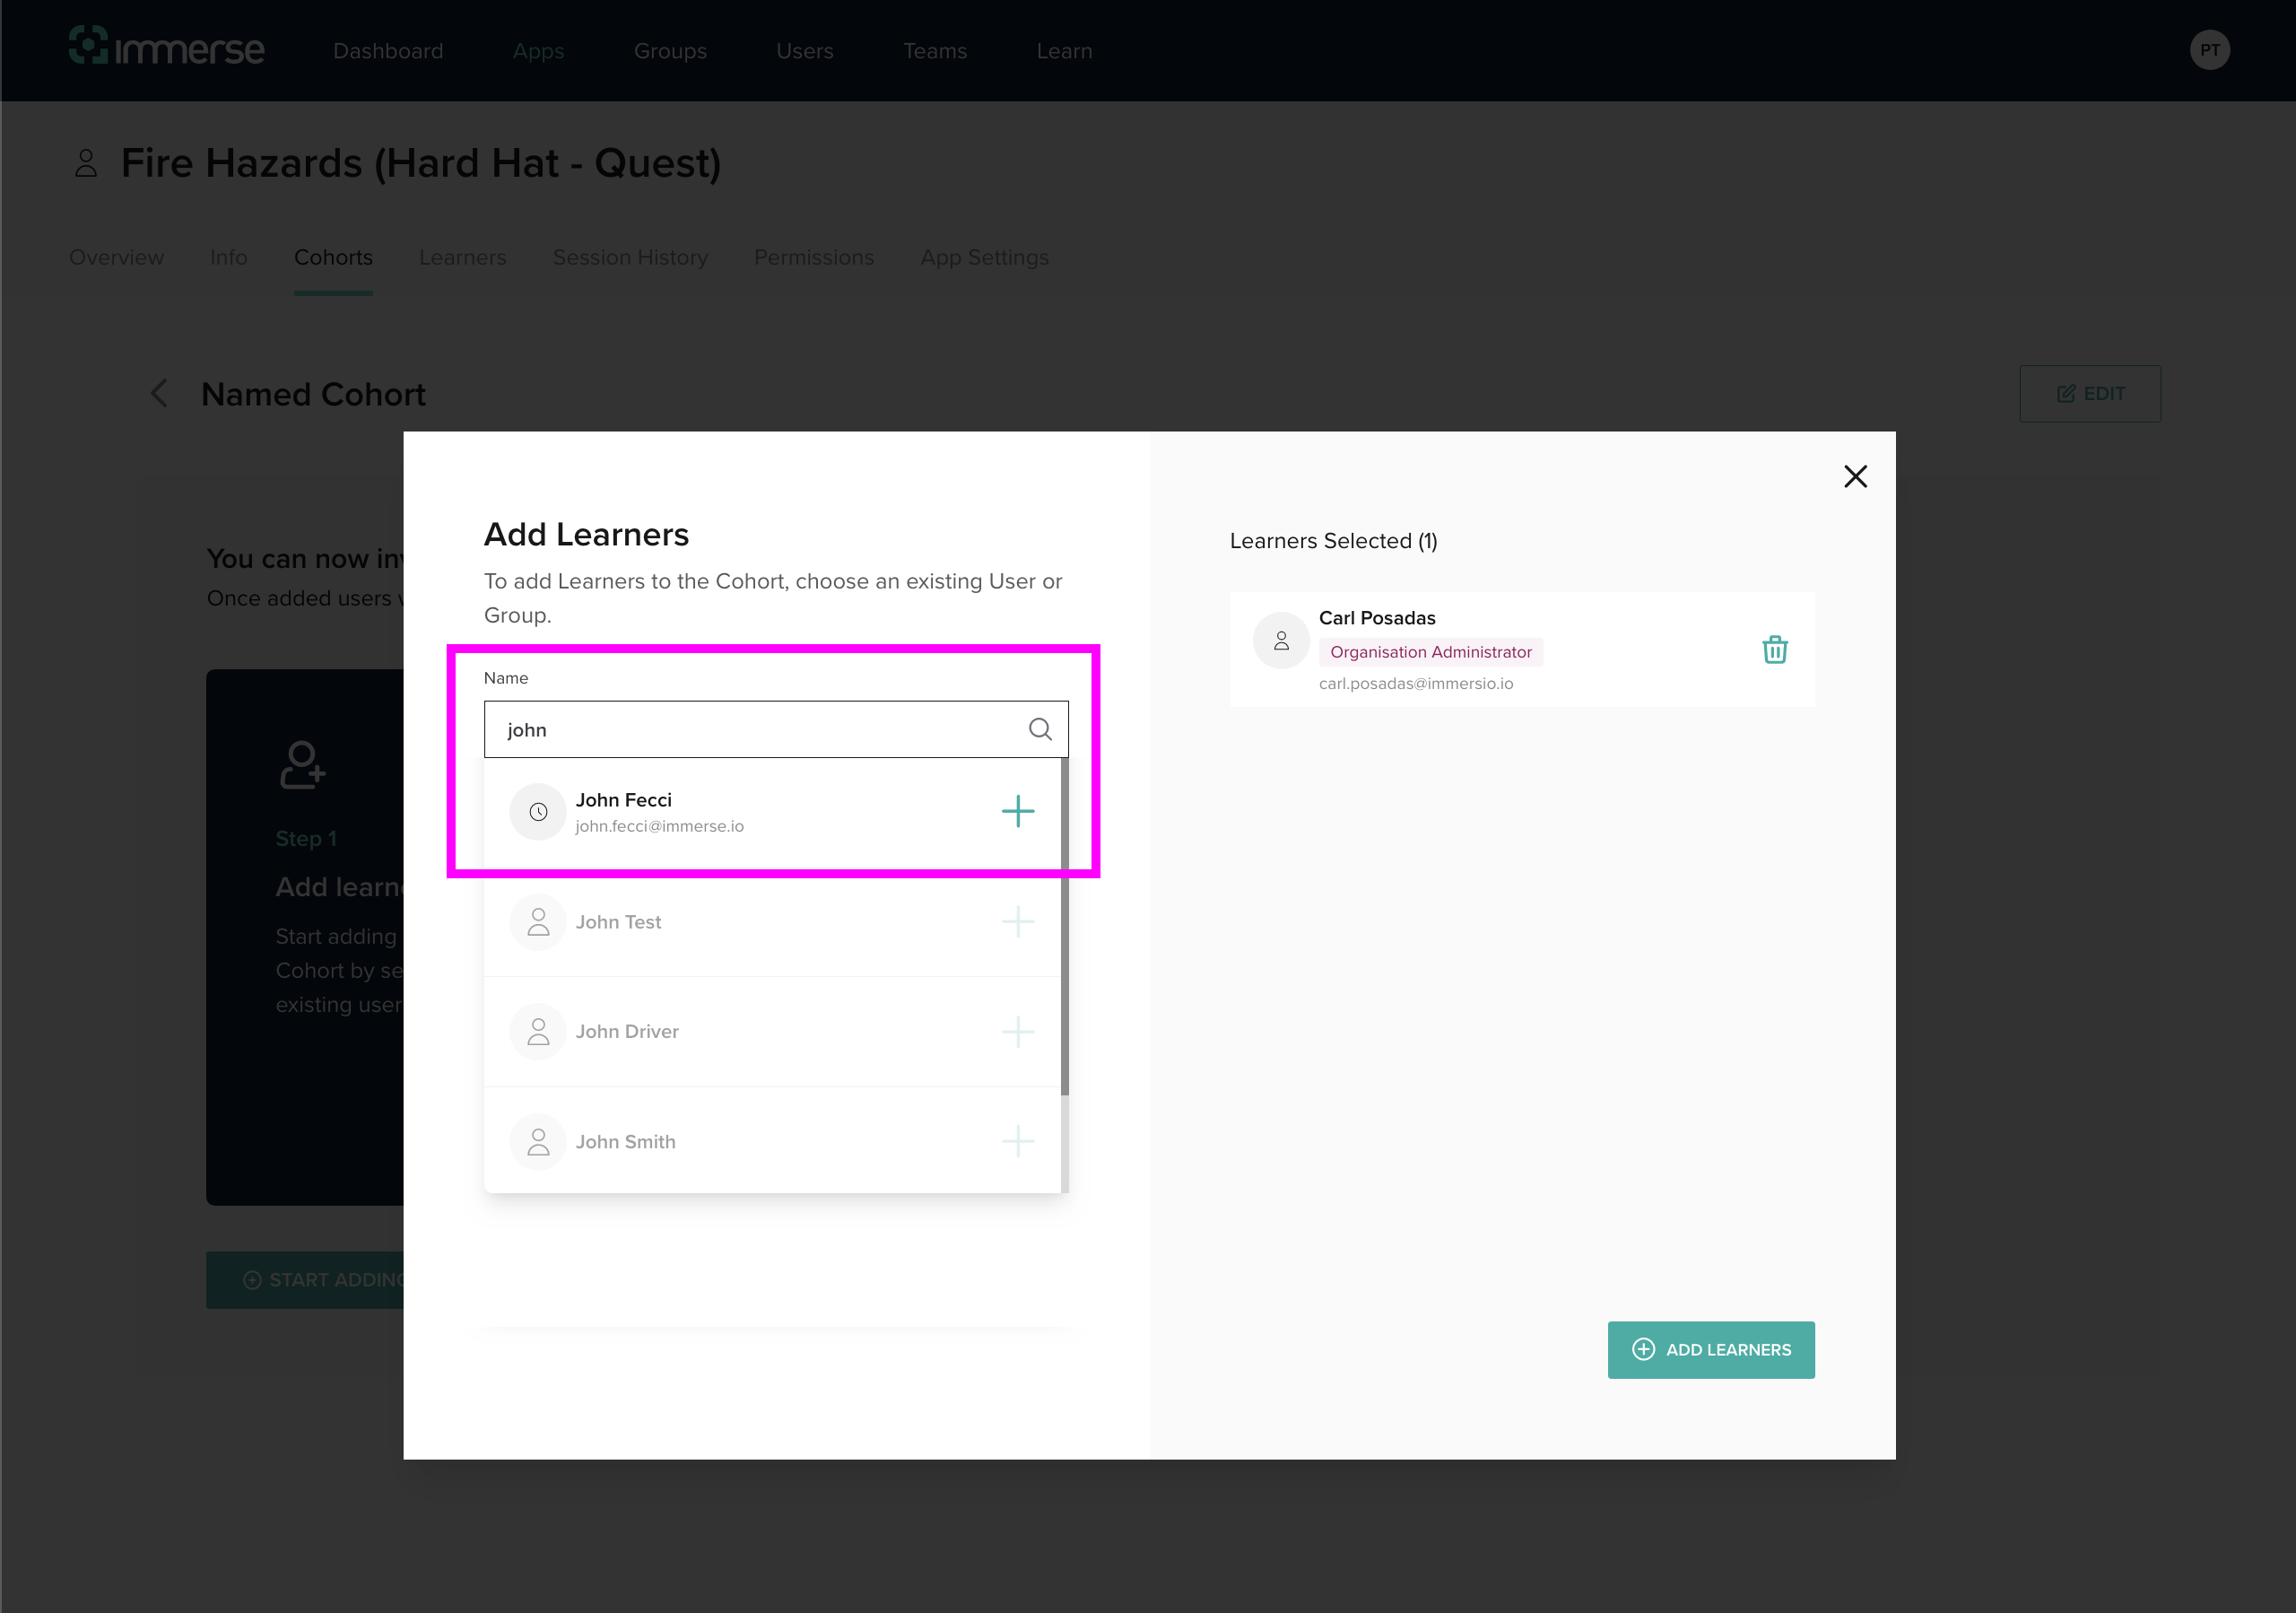
You will now be prompted to [START ADDING LEARNERS]

To add learners to the schedule, start typing their names and click on them as they appear in the drop-down menu. Repeat this process for every participant. If they are not visible, their account may not have been provisioned.Once your participants have been added, click [+ ADD LEARNERS] at the bottom right of the pop-up.
7. Join the session (learner)
Each learner will now receive an automated email from the Immerse Platform:

Upon clicking [JOIN SESSION], the learner will be prompted to log-in and will then land on the Session Access Page.
"Description", "How to access" and "Useful contacts" information is displayed on this page and is populated from the fields previously entered earlier during creation of the cohort.
Clicking [GET VR PIN] will reveal a unique 6-digit Access PIN.
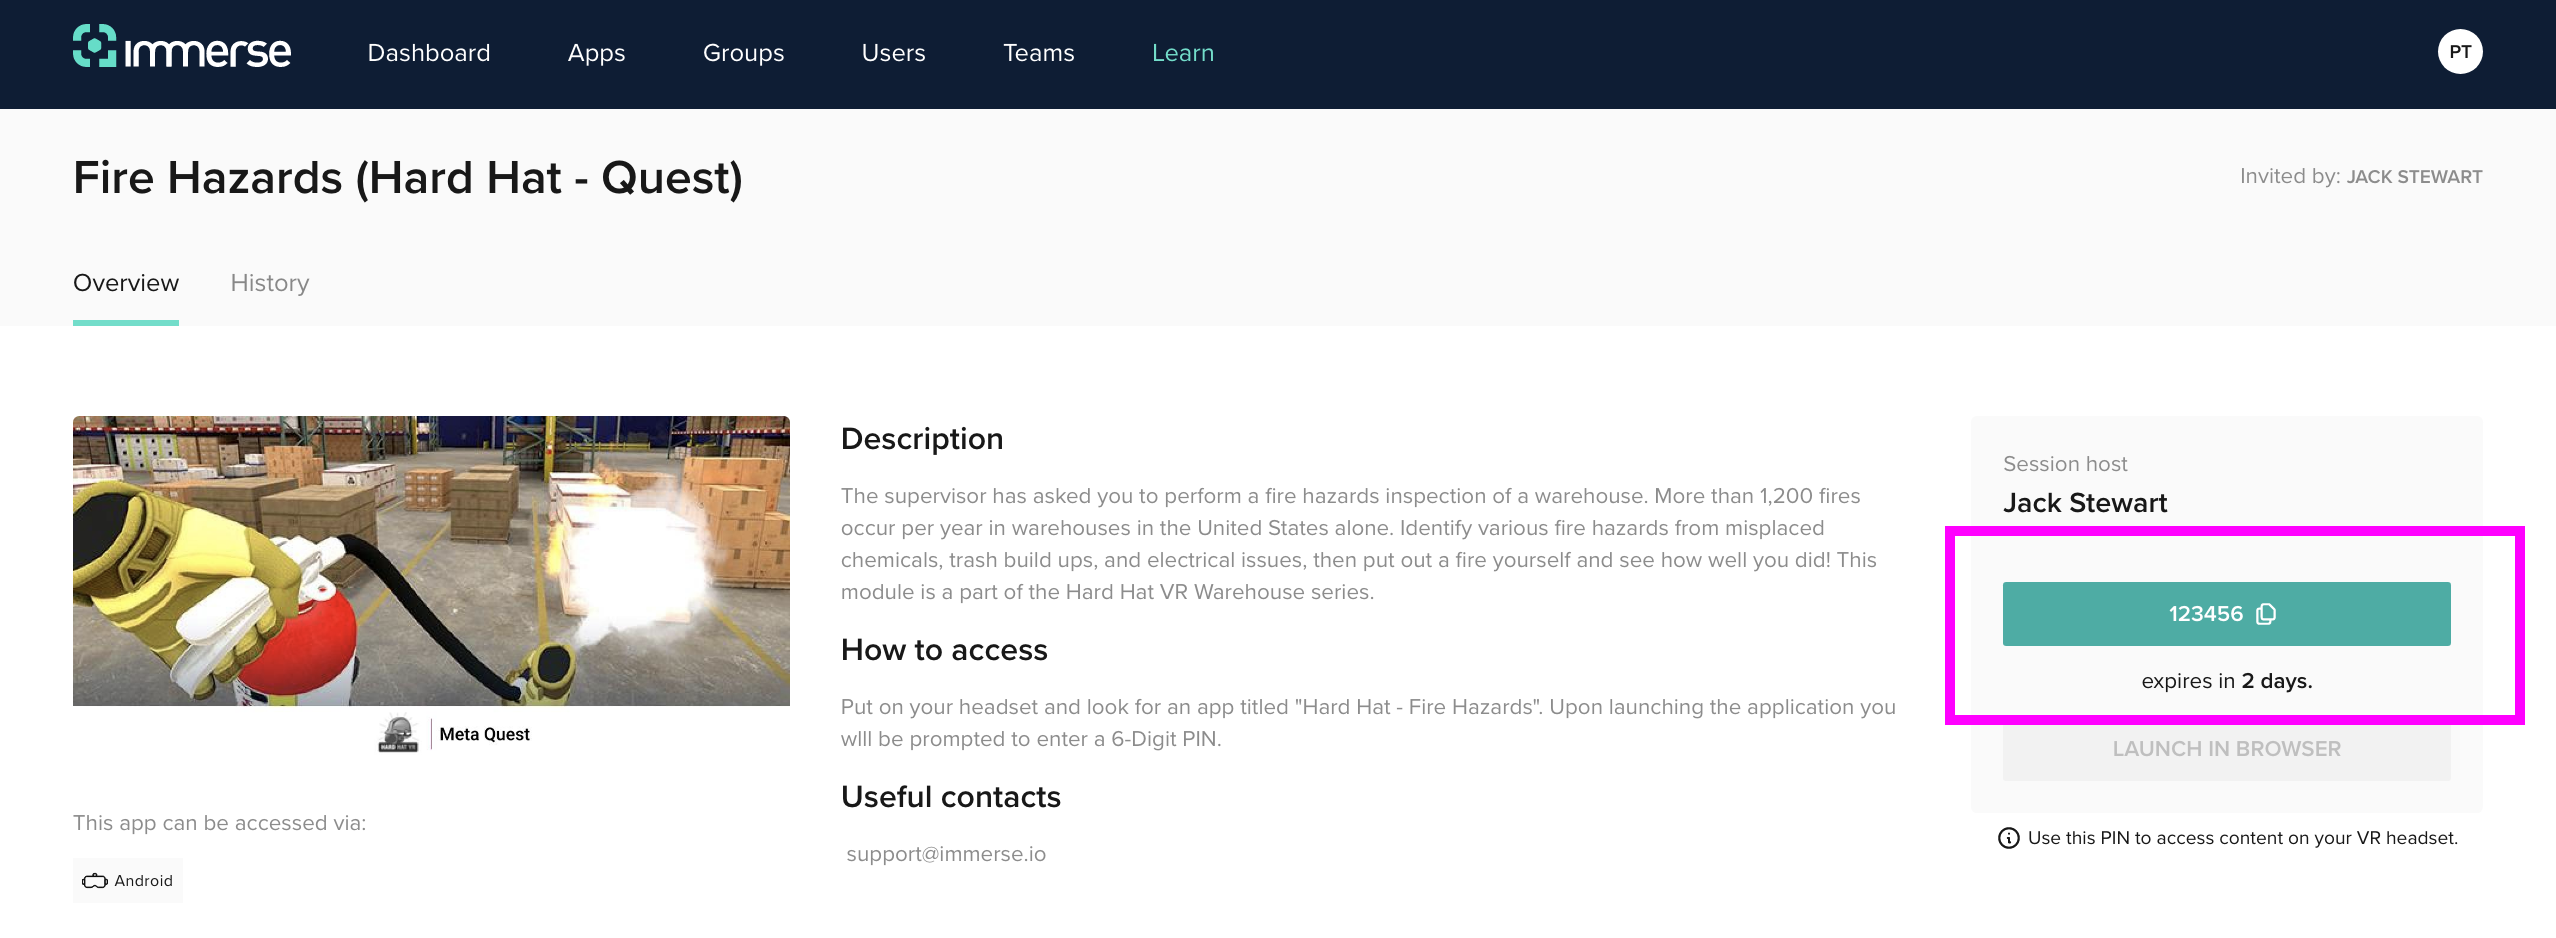
In the example highlighted here, the learner has revealed a PIN of 123456. Note the expiration time which is visible under the PIN.
After putting on their headset and launching the application, the learner is presented with a PINpad:
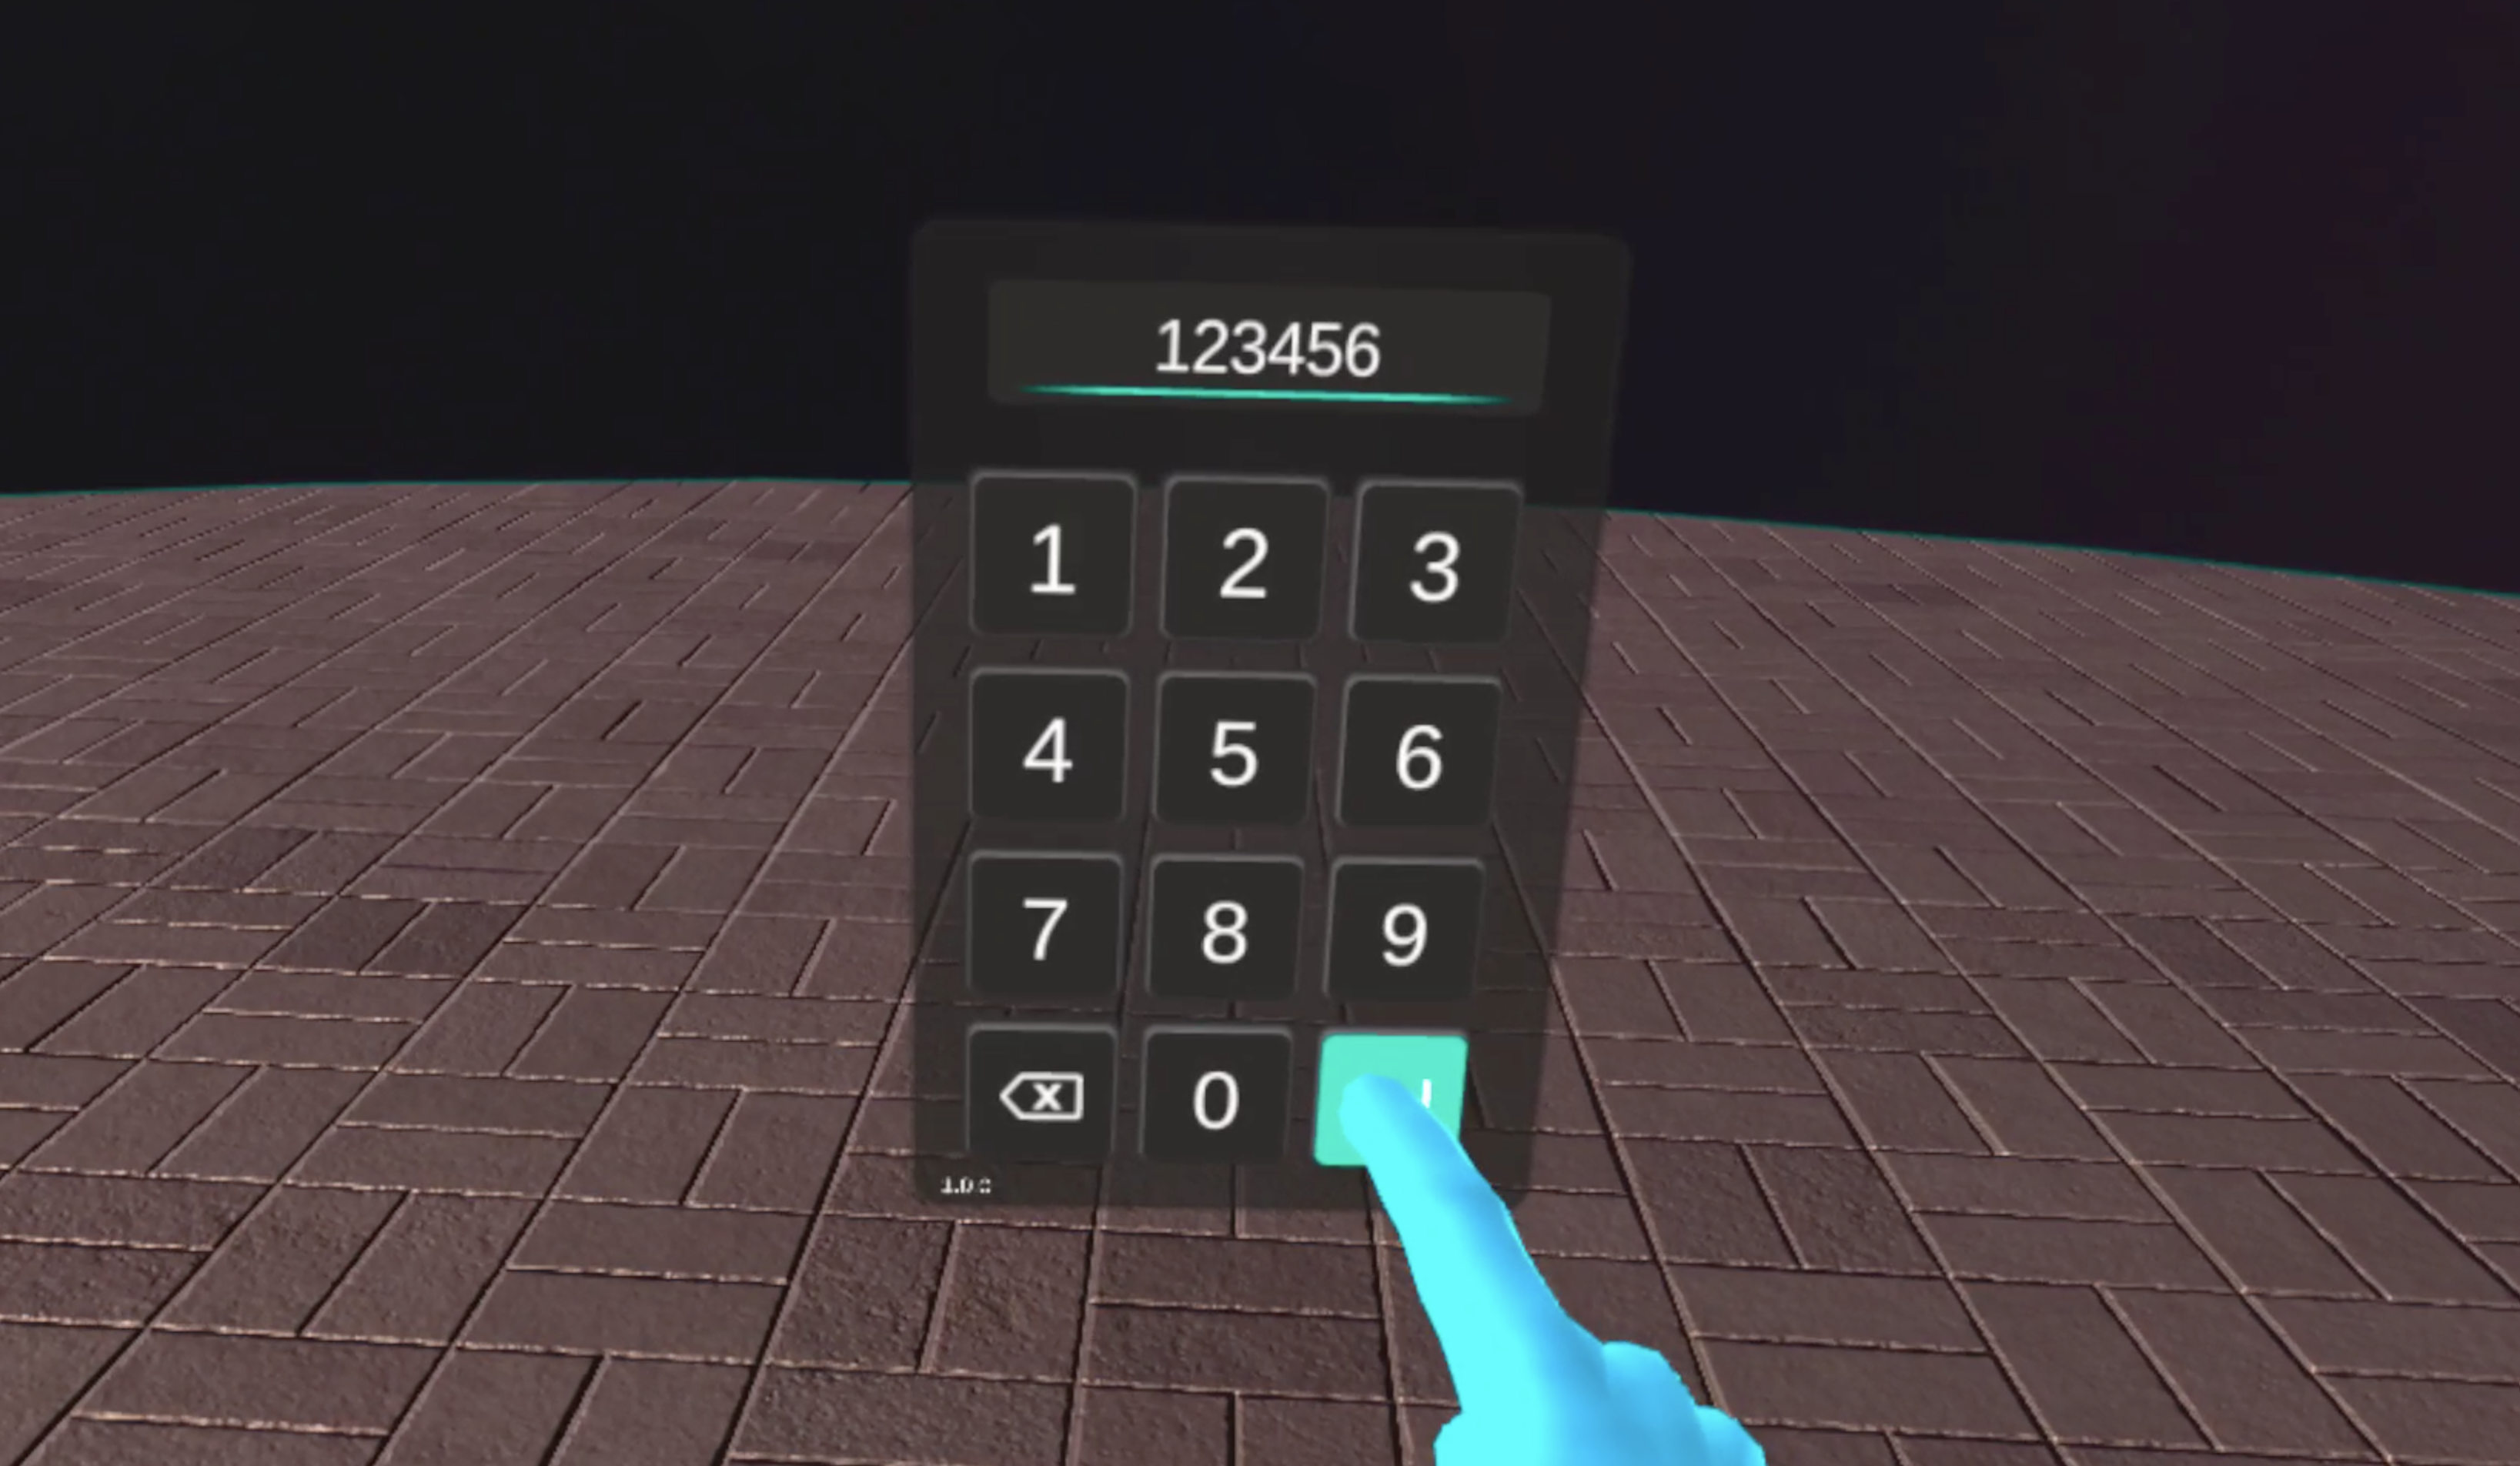
After entering the PIN, the learner is authenticated and can complete the training.

8. Check the session data (session administrator)
As the learner progresses through the application, data is pushed to the Immerse Platform.
After the training has been completed, reporting data can be viewed and exported by clicking "Session History" and clicking through to the relevant session
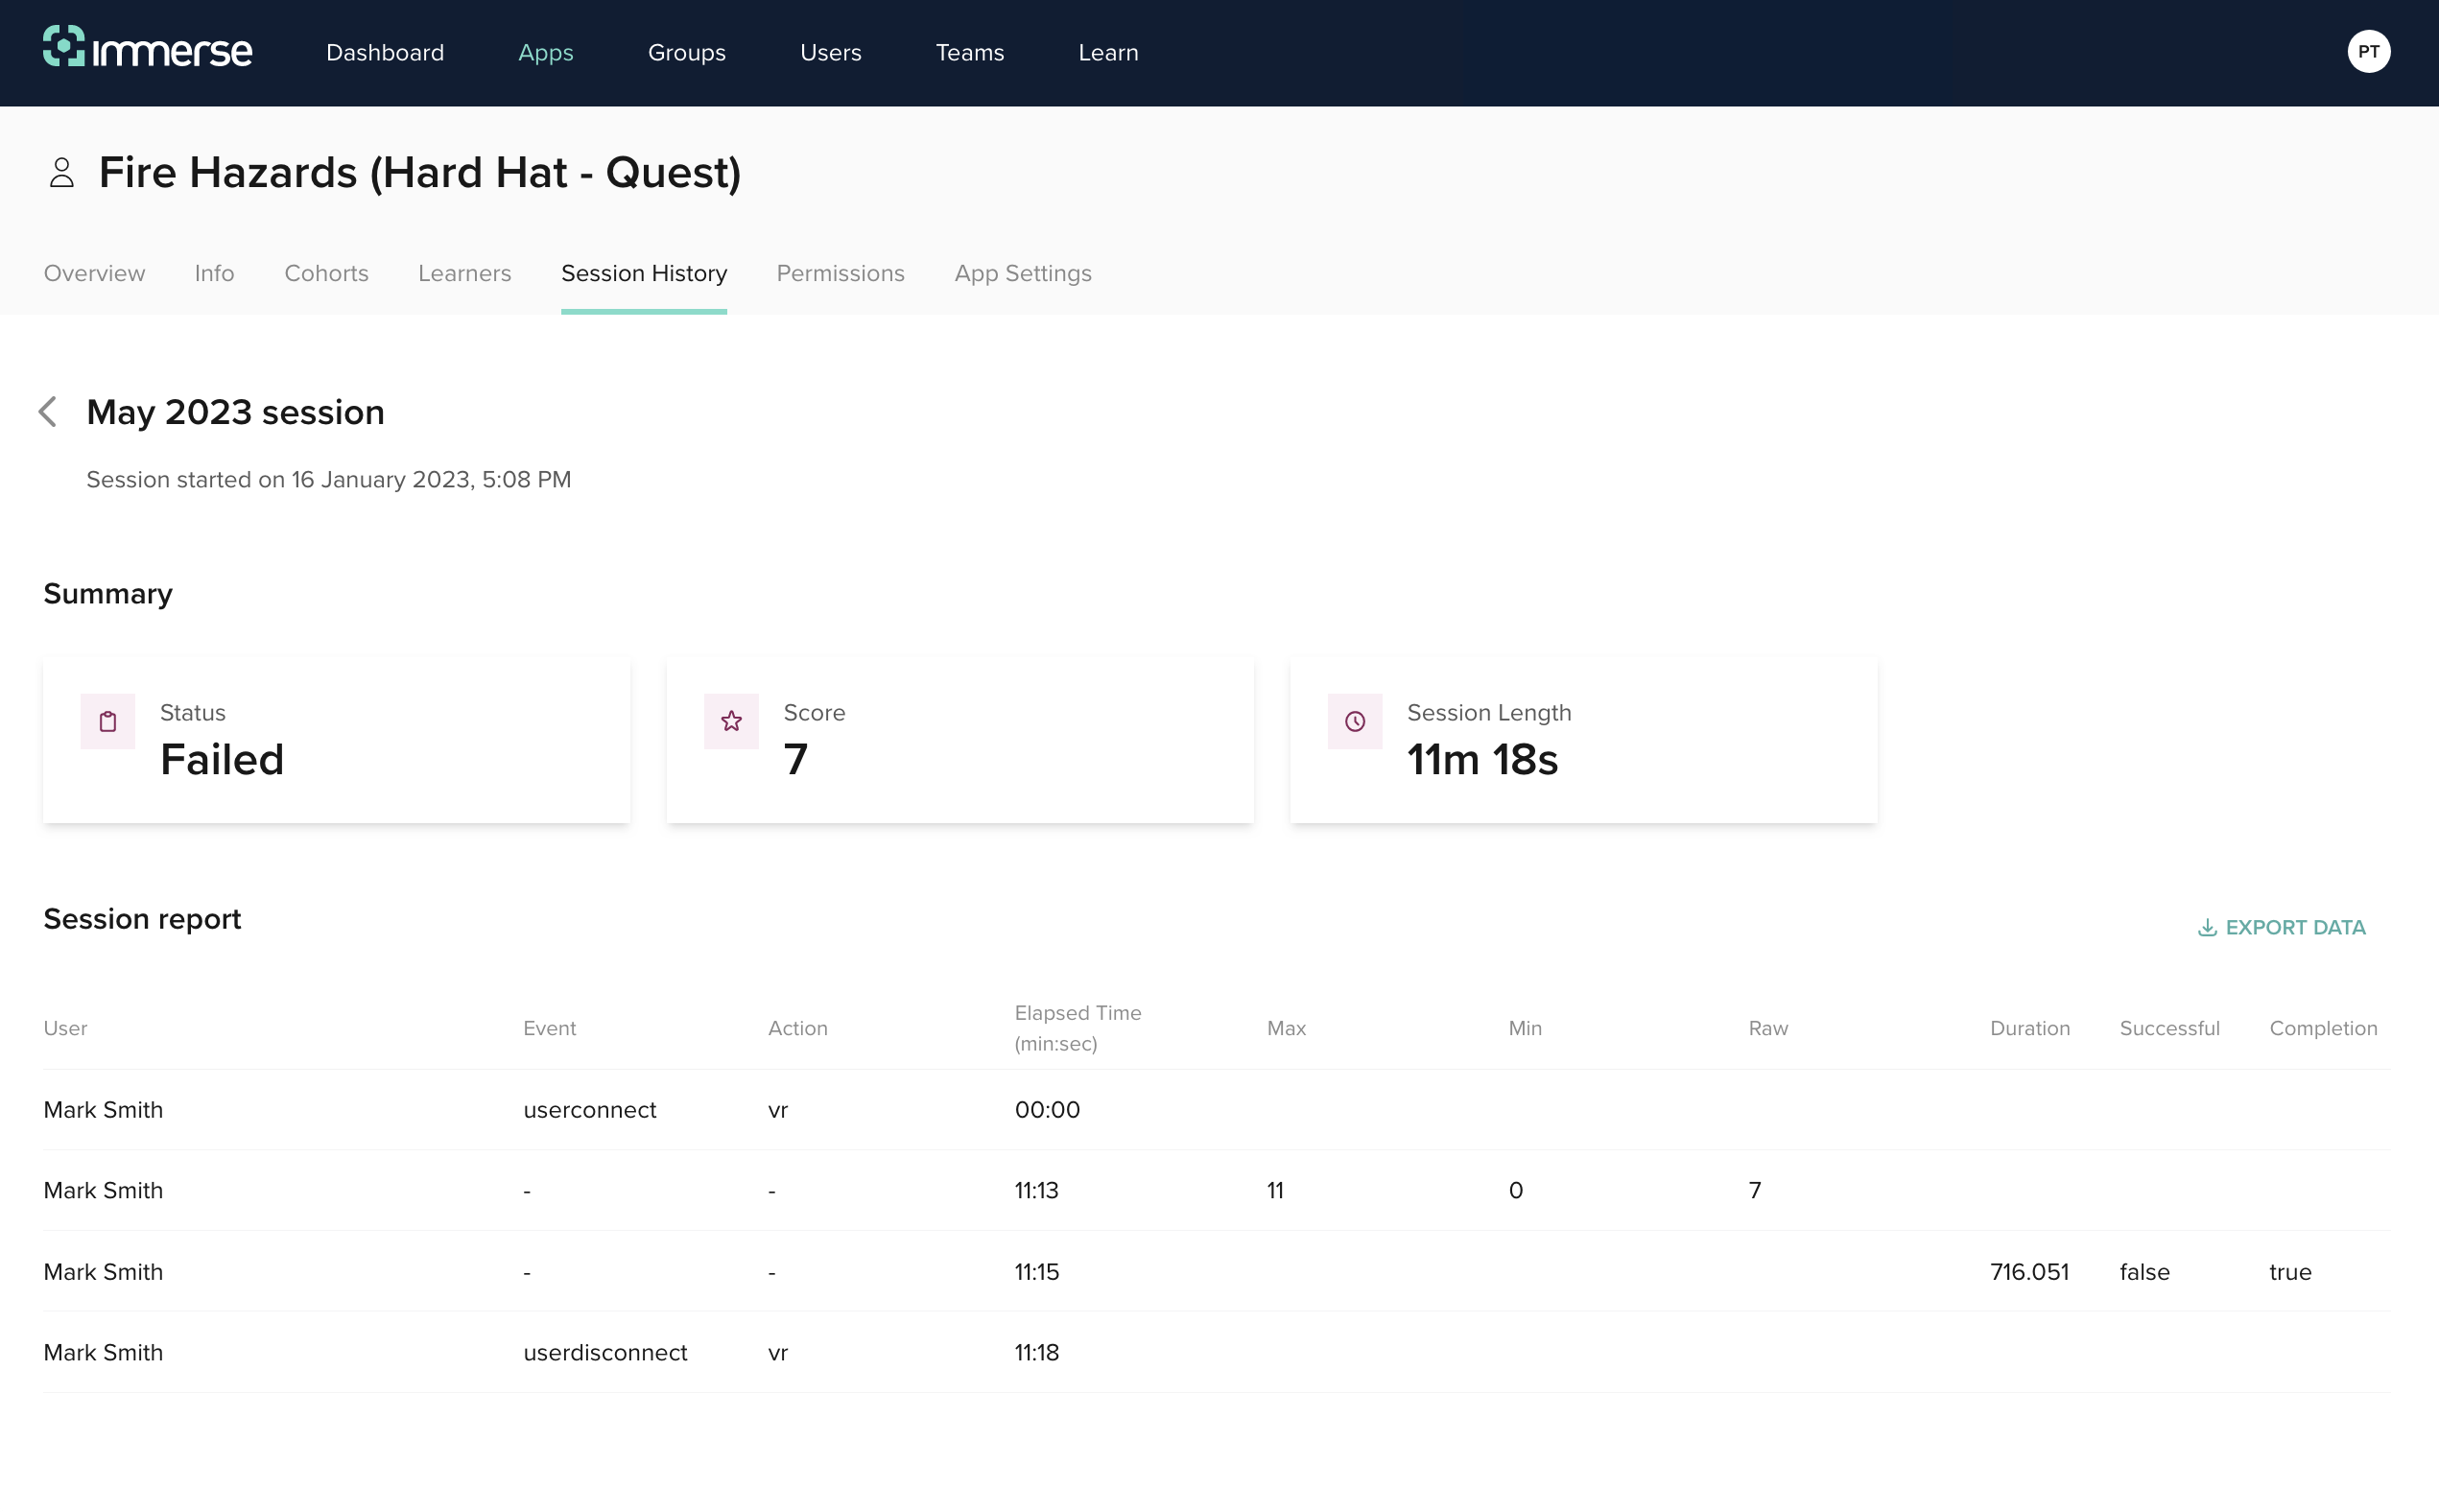
In this example the learner, Mark Smith failed the training with a score of 7 out of 11. They started at 5.08pm on 16 January 2023 and the session lasted 11 minutes 18 seconds.